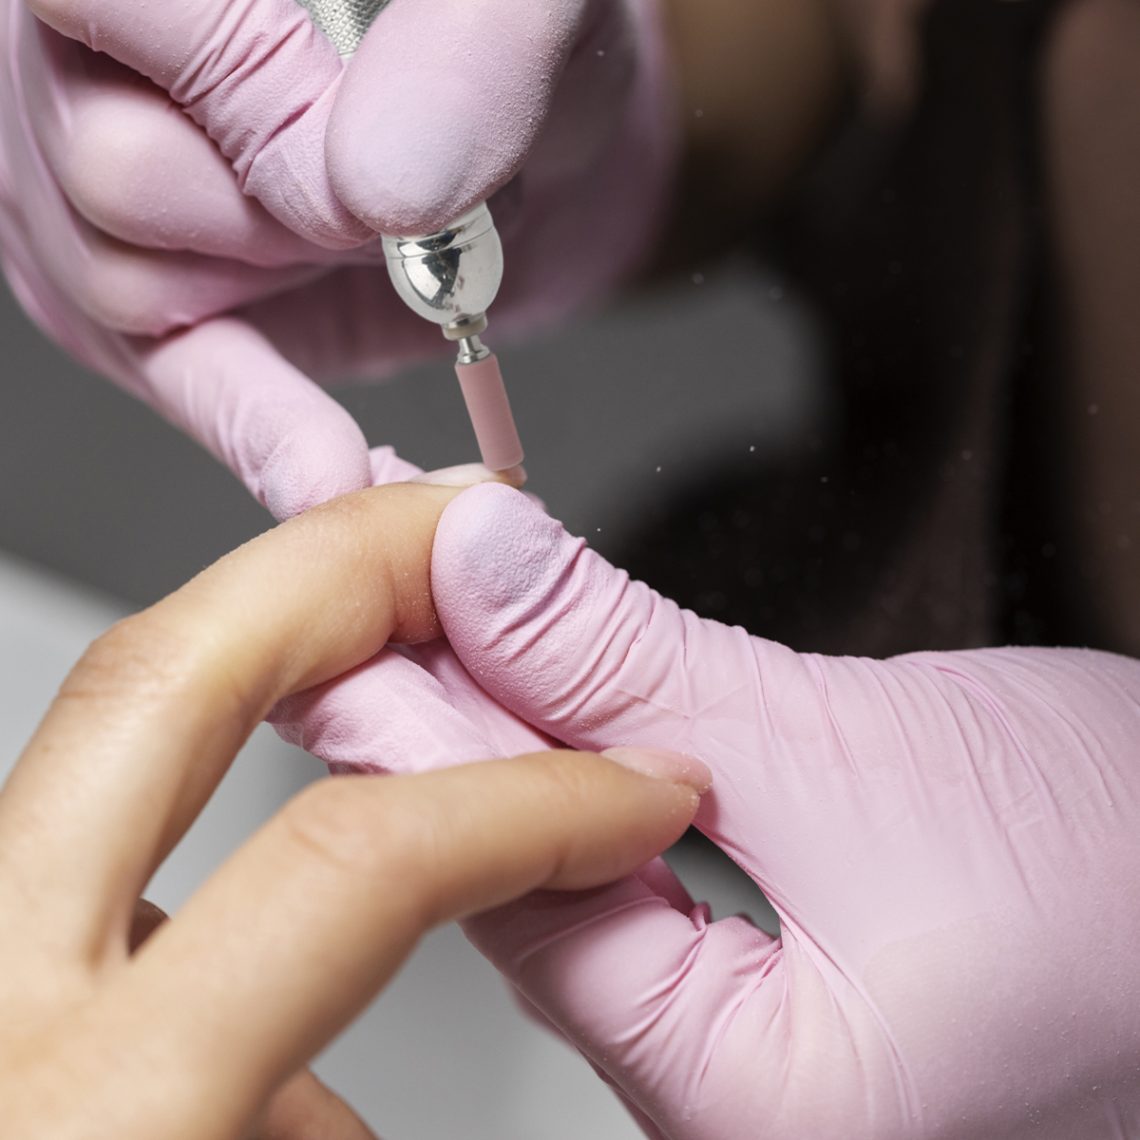
Sanding bands are small abrasive sleeves that fit onto a mandrel bit for an electric nail file. They are common in professional nail care because they shape, smooth, and remove product quickly. But they are also powerful tools. In untrained hands, they can thin the natural nail, create deep grooves, or cause heat damage. The good news is that non-professionals can use sanding bands safely if they understand the risks, choose the right grit, keep the speed low, and follow a few strict rules.
This guide is for home users who want to use sanding bands carefully, not for replacing professional training. If you are unsure, start with a hand file. A hand file is slower, but it is far more forgiving.
What Sanding Bands Do
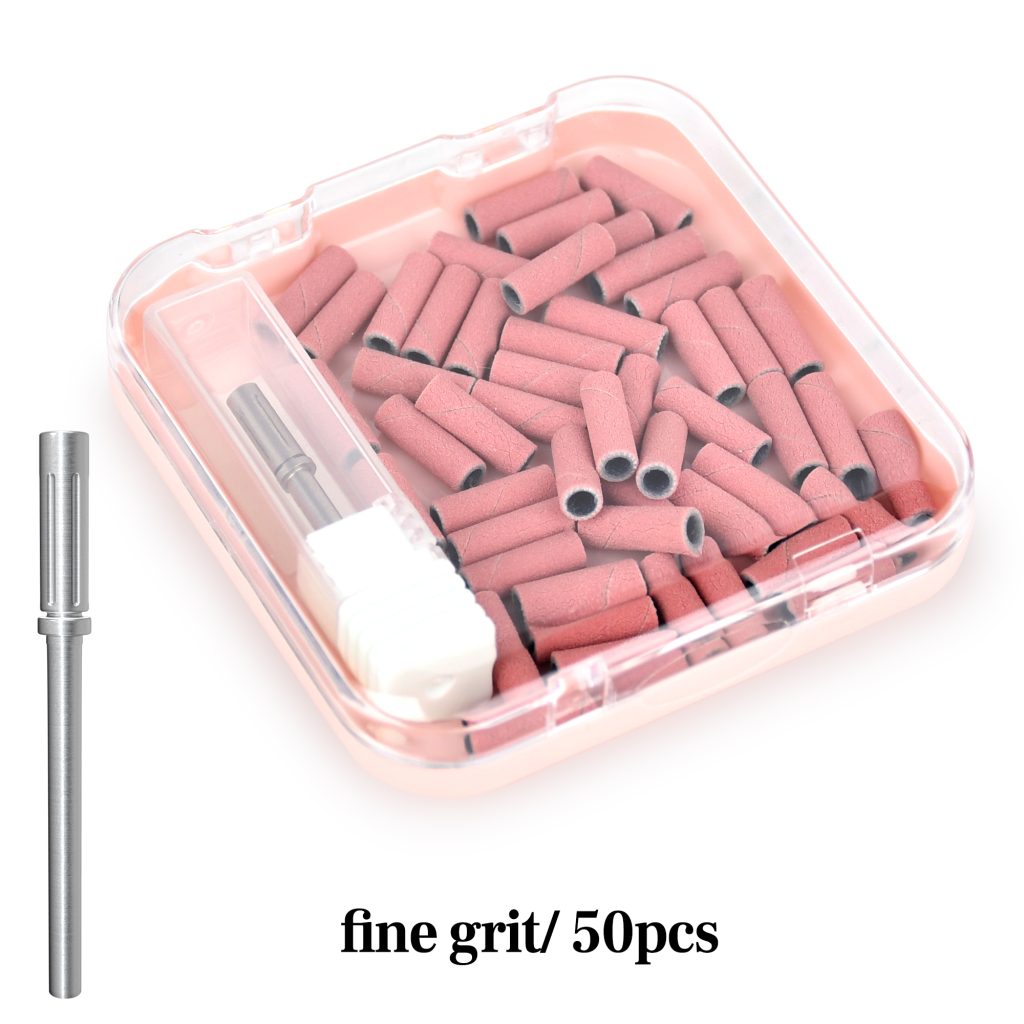
Mini sanding band is an abrasive sleeve that spins on an electric file. Different grits do different jobs. Coarse grit removes product quickly. Medium grit refines shapes. Fine grit smooths and prepares the natural nail. The smaller the number, the more aggressive the band. For natural nails, only fine grit should be used. For artificial product, medium or coarse grit may be appropriate, but those grits should never touch the natural nail plate.
The danger is not the band itself. The danger is heat, pressure, and angle. A spinning band held in one spot creates friction. Friction creates heat. Heat can burn the nail bed and cause permanent damage. A band held at the wrong angle can gouge the nail. A coarse band on a natural nail can thin it in seconds.
Tools a Non-Professional Needs
You do not need a full salon setup, but you do need the right basics:
- An electric nail file with adjustable speed. A machine that starts at a low RPM is safer.
- A mandrel bit that fits your sanding bands. The standard size is 3/32 inch.
- Sanding bands in fine grit, 180 to 240. If you are working on artificial nails, you may also need medium grit, but keep coarse grit out of your home kit unless you are trained.
- A dust mask and safety glasses. Nail dust is fine and can irritate your lungs and eyes.
- A dust brush.
- A cuticle pusher.
- Cuticle oil and hand cream.
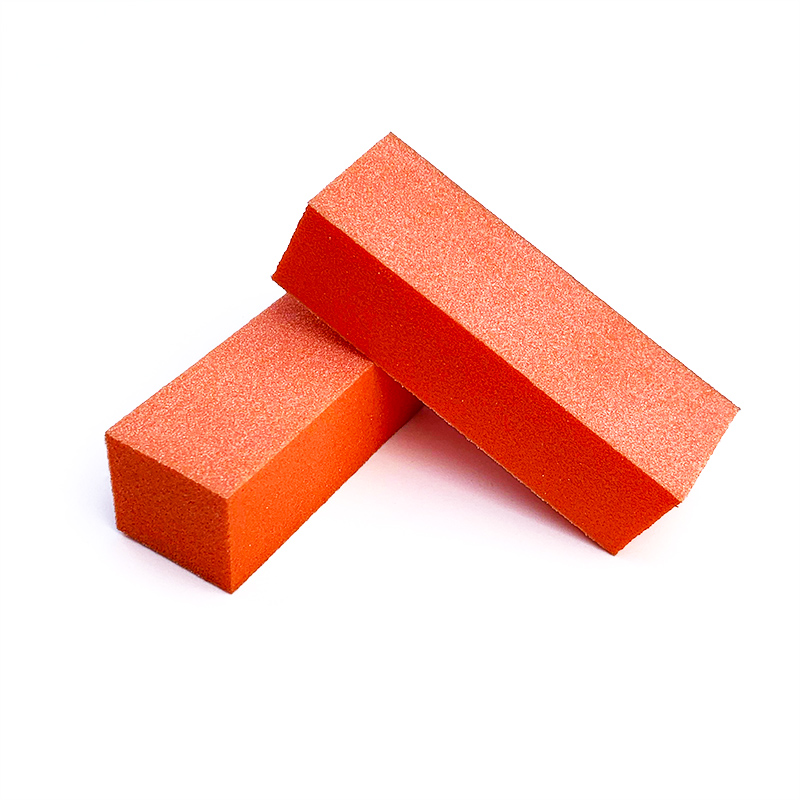
- Nail file and buffers for finishing.
- A well-ventilated workspace.
Avoid cheap, high-speed files with no speed control. Avoid coarse carbide bits. Avoid using a sanding band on broken, infected, or painful nails.
Safety Rules for Home Users
These rules are not optional.
Use fine grit only on natural nails. A 180 to 240 grit band is the safest choice. Never use coarse grit on the natural nail plate.
Keep the speed low. For natural nail work, stay between 5,000 and 10,000 RPM. Lower is better. High speed with light pressure is safer than low speed with heavy pressure, but for beginners, low speed is best.
Use light pressure. Let the band do the work. Do not press down. The band should glide across the surface, not dig into it.
Keep the band moving. Never hold the band in one spot for more than a second. Move it in smooth, overlapping strokes. This prevents heat spikes and grooves.
Hold the band flat. Keep the band parallel to the nail plate for surface work. Do not use the tip to dig into the nail. Do not angle the band sharply against the sidewall.
Stop at the first sign of heat or pain. Heat is a warning. Stop, let the nail cool, and continue at a lower speed or with a hand file.
Do not file living skin. Sanding bands are for the nail plate and dead tissue only. Never file the cuticle or sidewalls.
Replace the band often. A worn band cuts inefficiently and generates heat. Use a fresh band for each session.
Step-by-Step for Home Use
Step 1: Prepare the nail. Remove old polish. Wash and dry your hands. Push back the cuticles gently. Lightly buff the nail surface with a hand buffer to remove shine. Do not use the sanding band for this first step. A hand buffer is safer.
Step 2: Choose a fine band. Attach a 180 to 240 grit mini or standard sanding band to the mandrel. Make sure it fits snugly and does not wobble.
Step 3: Set the speed low. Start at the lowest setting. If the band stalls or feels jumpy, increase slightly, but stay in the low range.
Step 4: Hold the file correctly. Grip the handpiece like a pencil. Rest your pinky on the table or on your other hand for stability. Keep your wrist relaxed.
Step 5: Work in light strokes. Use the side or belly of the band, not the tip. Start at the center of the nail and move toward the free edge. Then work the sides. Leave the cuticle area for last. Keep the band moving at all times.
Step 6: Stop early. You do not need to remove every trace of product or smooth every ridge. Stop while the nail still has a thin protective layer. If you see the natural nail clearly, you have gone too far.
Step 7: Finish by hand. Switch to a hand file or buffer for final smoothing. This gives you more control and reduces the risk of heat damage.
Step 8: Clean and hydrate. Brush away dust. Wash your hands. Apply cuticle oil and hand cream.
Common Mistakes to Avoid
Using coarse grit on natural nails. This is the most damaging mistake. Coarse bands are for artificial product only.
Pressing too hard. Pressure creates heat and removes too much material.
Stopping in one spot. This causes grooves and burns.
Skipping the dust mask. Inhaled nail dust can irritate the lungs.
Using a damaged or loose band. A wobbly band reduces control and can cause injury.
Working on infected or painful nails. Do not use any electric file on broken skin or signs of infection. See a doctor.
When to Avoid Sanding Bands Entirely
If you are a complete beginner, start with hand files. If your nails are thin, peeling, or sensitive, use hand tools only. If you have diabetes, poor circulation, or a weakened immune system, consult a professional before using any electric file. If you feel anxious or unsure, do not use the tool.
Final Thoughts
Sanding bands are professional tools, but non-professionals can use them safely with caution. Choose fine grit, keep the speed low, use light pressure, and keep the band moving. Stop at the first sign of heat or pain. Finish with a hand file. If you are unsure, use a hand file instead. Safety matters more than speed. Your natural nails are delicate. Treat them with respect, and they will stay healthy.